
This tutorial will show you how to successfully install and configure the module for WHMCS. We will guide and help you step by step through the whole process.
Table of different region to generate the API Keys
Reference: OVH Official Reference Page
| Region Name | URL |
|---|---|
| ovh-us (OVH US) | https://api.us.ovhcloud.com/createToken/index.cgi?GET=/*&PUT=/*&POST=/*&DELETE=/* |
| ovh-ca (OVH North America) | https://ca.api.ovh.com/createToken/index.cgi?GET=/*&PUT=/*&POST=/*&DELETE=/* |
| ovh-eu (OVH Europe) | https://eu.api.ovh.com/createToken/index.cgi?GET=/*&PUT=/*&POST=/*&DELETE=/* |
Create your app keys/ Obtaining API Keys
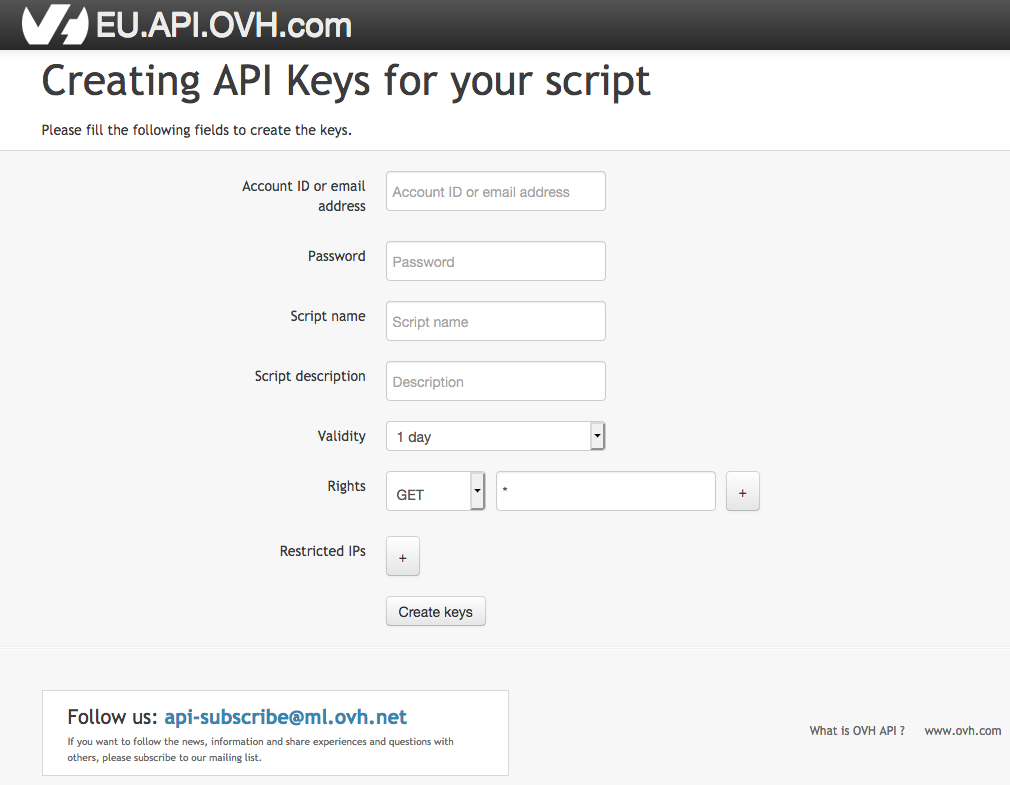
- Any application that wants to communicate with the OVHcloud API must be declared in advance.
- To do this, click the above links based on the region
- Fill in your OVHcloud customer ID, password, and application name. The name will be useful later if you want to allow others to use it.
- You can also add a description of the application and a validity period.
- The Rights field allows you to restrict the use of the application to certain APIs.
Adding License Key
- Go to System Settings » Addon Modules » OVH Servers Automation » Activate It
- Now click on Configure and provide license key and your email address registered at OVH
- Go to Addons -> OVH Servers and add your API keys
Creating a Package
- Go to System Settings -> Product/Service -> Add a Product
- Go to Module Settings and select your region
- At last do a Save changes
Assigning a Server
- Whenever you got an order simply place the order at OVH and when OVH provisioned your server
- Go to WHMCS admin -> addons -> OVH Servers Automation -> Select your region and click on Manage
- Click on the + sign to the newly deployed server and import it as WHMCS server
- Now go to your users profile -> Edit the product and from Server dropdown select the newly deployed Server